Complete Immich Setup Guide
Photos
Beginner
5 min read
Published: May 7, 2026
Was this helpful?
Help us improve our community guides.
Help us improve our community guides.
Backing Up Immich: Protect Your Photo Library — Step-by-step guide for your LocalNode.
Immich Face Recognition Setup — Step-by-step guide for your LocalNode.
Migrating from Google Photos to Immich — Step-by-step guide for your LocalNode.
Immich is the ultimate Google Photos replacement. This master guide will walk you through the initial configuration of the server, setting up machine learning, and getting your family's accounts ready.
Immich consists of two parts: the server (running on your LocalNode) and the mobile app (running on your phone). The server handles the heavy lifting—detecting faces, identifying objects, and generating thumbnails—while the app simply uploads the photos and displays the timeline.
The first time you access Immich, you must claim the server.
http://localnode.local:2283.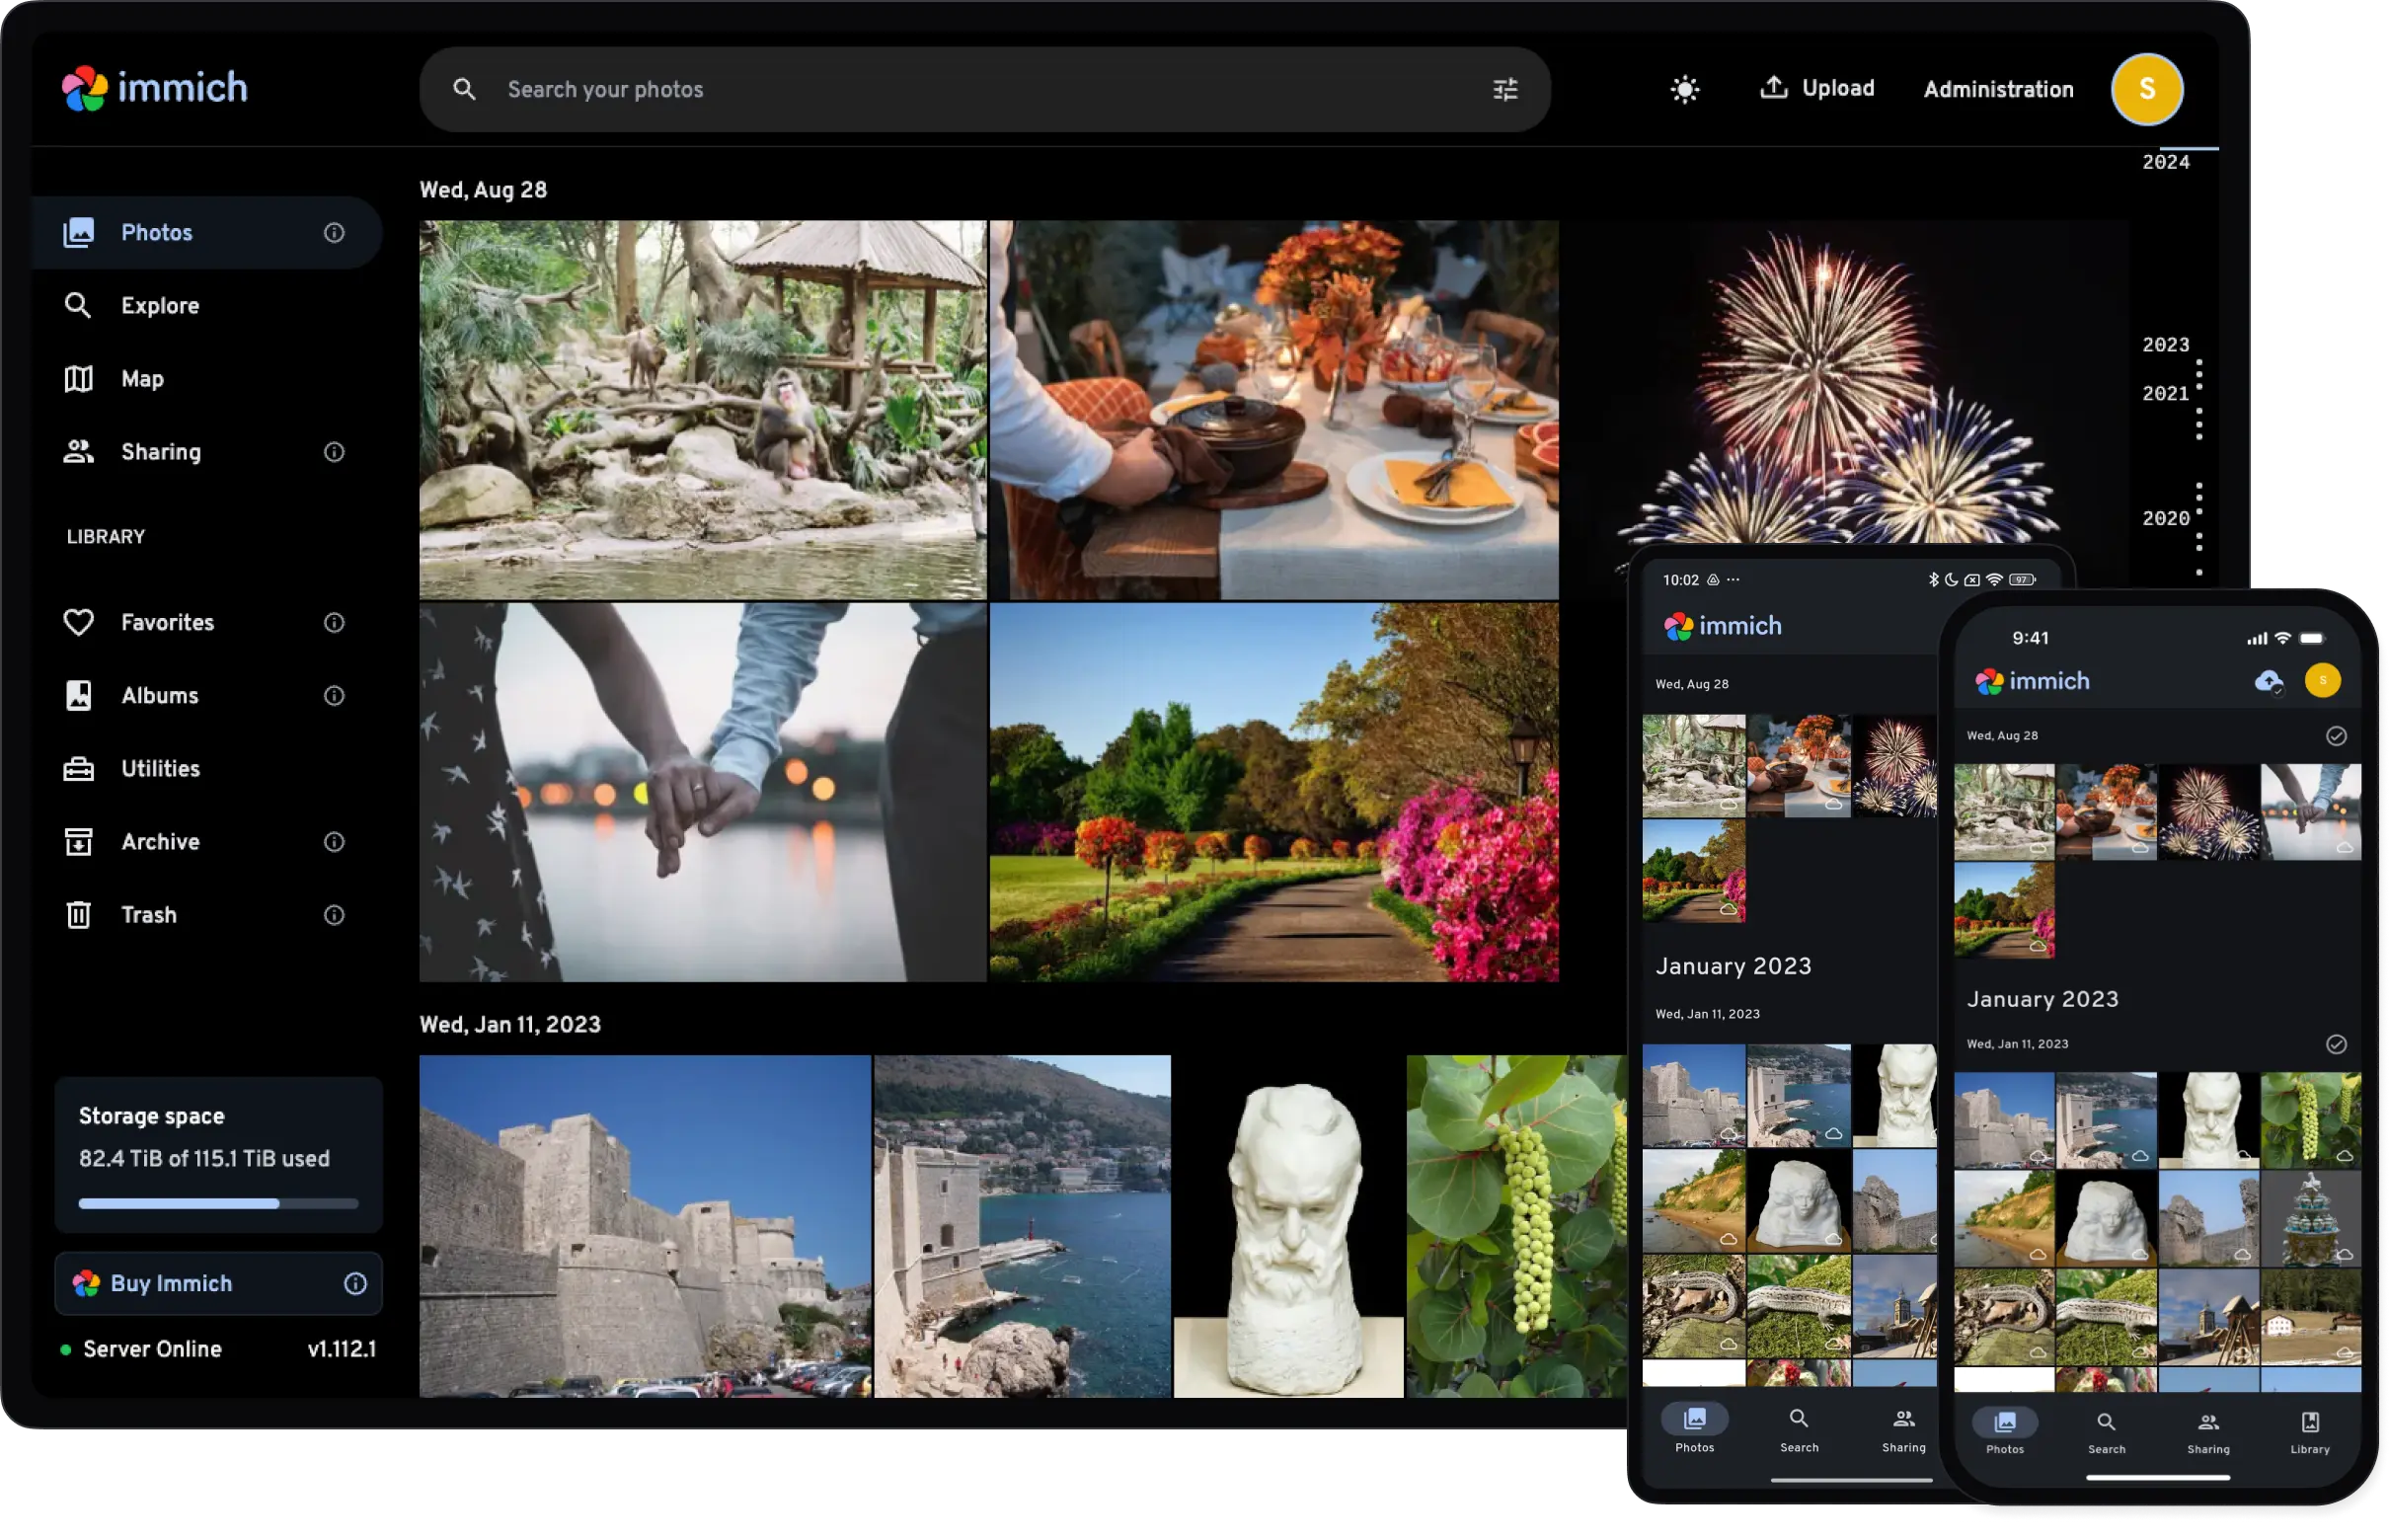
If your spouse or children want to back up their photos, they need their own accounts. Immich keeps every user's library strictly private.
💡 Tip: Under the User settings, you can assign a "Storage Quota" (e.g., 50 GB) to specific accounts if you don't want your kids filling up the entire LocalNode hard drive.
Immich's "magic" comes from its local AI models that detect faces and objects (allowing you to search your library for "dog" or "beach"). These run entirely on the LocalNode's processor.
⚠️ Warning: Processing tens of thousands of photos through machine learning takes massive CPU power. During your initial bulk upload, your LocalNode will likely run at 100% CPU usage for a day or two. This is normal.
Now that the server is ready, the final step is to connect your phones.
http://localnode.local:2283/api (the /api is mandatory).Need help? Email hello@localnode.tech or visit localnode.tech/contact.