Creating Basic Automations in Home Assistant
Advanced
Beginner
5 min read
Published: May 7, 2026
Was this helpful?
Help us improve our community guides.
Help us improve our community guides.
Adding External Storage to Your Localnode — Step-by-step guide for your LocalNode.
Adding Smart Home Devices to Home Assistant — Step-by-step guide for your LocalNode.
Backing Up Your Entire Localnode Configuration — Step-by-step guide for your LocalNode.
Controlling your lights from your phone is neat, but true smart homes run themselves. Home Assistant features a visual automation engine that lets you connect devices that normally wouldn't talk to each other.
Because Home Assistant runs locally on your LocalNode, automations execute instantly. When you walk past a motion sensor, the lights turn on in milliseconds, compared to the 2-3 second delay common with cloud-based platforms like Alexa or SmartThings.
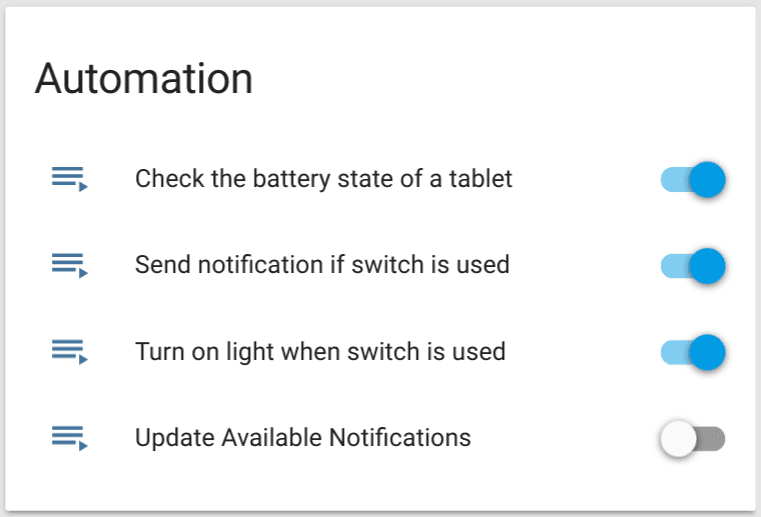
Every automation in Home Assistant consists of three core building blocks:
Let's build a classic automation: turning the front porch lights on when it gets dark, and turning them off at 11:00 PM.
Now, create a second automation for turning them off:
💡 Tip: You can click the three dots in the top right of the automation editor and select "Show trace". This brings up a flowchart showing exactly how and when the automation last fired, which is invaluable for debugging why a light didn't turn on.
Some automations are notoriously difficult to write from scratch, like "Turn on the bathroom light with motion, keep it on as long as there is motion, but turn it off 2 minutes after motion stops."
Home Assistant uses Blueprints to solve this. A Blueprint is a pre-written automation template shared by the community.
Need help? Email hello@localnode.tech or visit localnode.tech/contact.