Monitoring Hard Drive Health with Scrutiny
Advanced
Beginner
5 min read
Published: May 7, 2026
Was this helpful?
Help us improve our community guides.
Help us improve our community guides.
Adding External Storage to Your Localnode — Step-by-step guide for your LocalNode.
Adding Smart Home Devices to Home Assistant — Step-by-step guide for your LocalNode.
Backing Up Your Entire Localnode Configuration — Step-by-step guide for your LocalNode.
Hard drives do not last forever. Scrutiny is a dashboard that constantly monitors the physical health of your LocalNode's internal SSD and any attached USB drives, warning you of impending failure before you lose data.
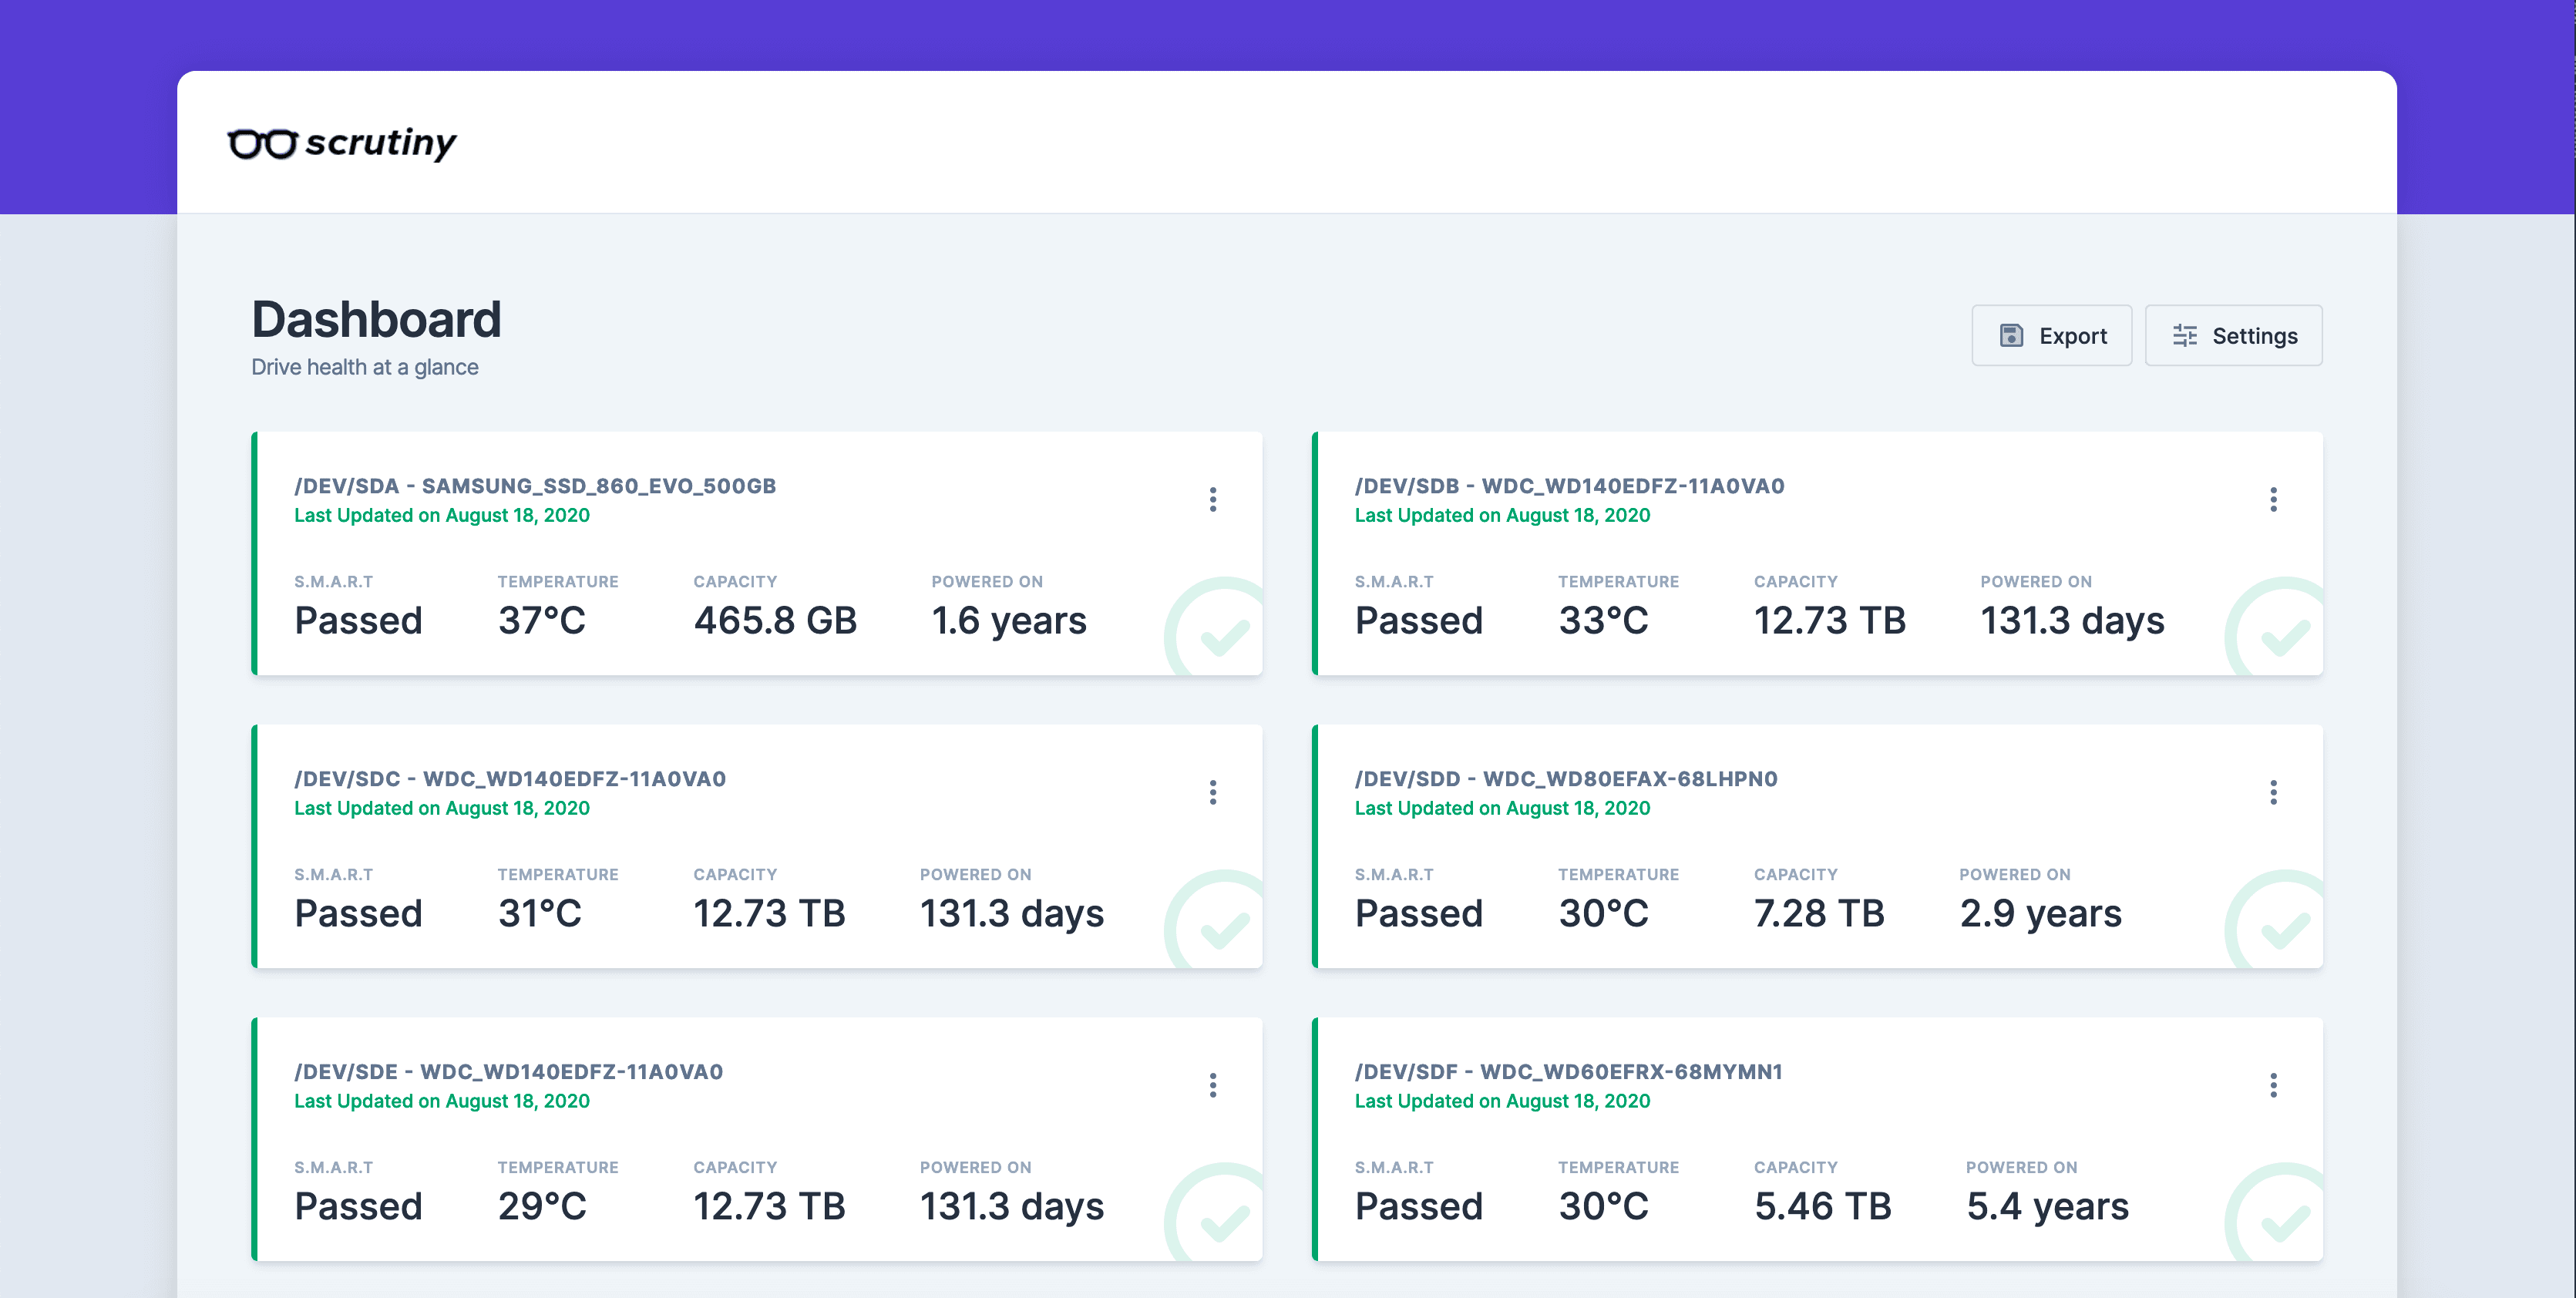
Every modern hard drive has a built-in self-reporting system called S.M.A.R.T. (Self-Monitoring, Analysis and Reporting Technology). It tracks things like temperature, bad sectors, and power cycles. Scrutiny reads this raw data, analyzes it against historical failure models, and translates it into a simple "Passed" or "Failed" dashboard.
http://localnode.local.You will see the internal 1TB NVMe SSD at the top. If you have any external USB drives plugged in, they will appear below it. The most important column is the "Status" column, which should be a green circle with a checkmark.
Click on the name of your internal drive (e.g., /dev/nvme0n1) to see its detailed health report.
💡 Tip: Don't panic if you see high "Power On Hours". A quality SSD is designed to run 24/7 for 5 to 10 years without issue.
Scrutiny checks the drive's health every 15 minutes automatically, but you can force the drive to perform a rigorous self-test.
The Short Test takes about 2 minutes and checks the electrical and mechanical performance. We do not recommend running the "Extended Test" on the internal SSD unless you suspect a failure, as it can cause excessive wear on the drive.
⚠️ Warning: Some cheap external USB enclosures block S.M.A.R.T. data from passing through the USB cable. If your external drive shows up in Scrutiny but the status says "Unknown", the drive is likely fine, but the cheap plastic enclosure is preventing Scrutiny from reading the data.
Need help? Email hello@localnode.tech or visit localnode.tech/contact.