LocalNode
How it worksDemoAppsPricingFAQShop now
← All guides
Home/Community/Setting Up Https for All Your Apps with Nginx Proxy Manager

Setting Up Https for All Your Apps with Nginx Proxy Manager

Advanced
Beginner
5 min read
Published: May 7, 2026

Was this helpful?

Help us improve our community guides.

In this guide

  • Overview
  • Step 1: Acquiring a Domain Name
  • Step 2: Forwarding Port 80 and 443
  • Step 3: Configuring Nginx Proxy Manager
  • Next Steps

Need direct help?

LocalNode Care Plan members get priority remote support.

Email Support →

More in Advanced

Adding External Storage to Your Localnode

Adding External Storage to Your Localnode — Step-by-step guide for your LocalNode.

5 min read

Adding Smart Home Devices to Home Assistant

Adding Smart Home Devices to Home Assistant — Step-by-step guide for your LocalNode.

5 min read

Backing Up Your Entire Localnode Configuration

Backing Up Your Entire Localnode Configuration — Step-by-step guide for your LocalNode.

5 min read
LocalNode

Plug-and-play home server. Your data, your hardware, your rules.

Product

How it worksDemoAppsCommunityPricingFAQ

Support

ContactShipping & ReturnsTrack Order

Legal

Privacy PolicyTerms of ServiceShipping Policy
© 2026 LocalNode. Built for people who value their privacy.Denton, TX · hello@localnode.tech

⚠️ Extremely Advanced — exposes your server to the public internet

If you want friends to access your Jellyfin server without downloading a VPN app, you must expose it to the internet. To do this securely without browser warnings, you need an SSL Certificate (HTTPS) and a Reverse Proxy.

Overview

Nginx Proxy Manager (NPM) acts as a traffic cop. It sits at the edge of your network, receives public web traffic, attaches a valid HTTPS security certificate to it, and routes it to the correct app on your LocalNode (like Jellyfin or Nextcloud).

Step 1: Acquiring a Domain Name

You cannot generate a standard SSL certificate for an IP address; you need a domain name.

  • Free Option: Use DuckDNS to get a free domain (e.g., myhouse.duckdns.org).
  • Paid Option: Buy a domain from Cloudflare or Namecheap (e.g., smithfamily.com).

Ensure your domain's DNS A-Record points to your home router's public IP address.

Step 2: Forwarding Port 80 and 443

You must tell your home router to send incoming web traffic to Nginx Proxy Manager.

  1. Log into your home Wi-Fi router.
  2. Go to Port Forwarding.
  3. Forward Port 80 (TCP) to your LocalNode's internal IP address (e.g., 192.168.1.50) on internal port 80.
  4. Forward Port 443 (TCP) to your LocalNode's internal IP address on internal port 443.

Note: Port 80 is required so the server can talk to Let's Encrypt to generate the free SSL certificate. Port 443 is the actual secure HTTPS traffic.

Step 3: Configuring Nginx Proxy Manager

  1. Go to your LocalNode dashboard and open Nginx Proxy Manager.
  2. Log in (Default: admin@example.com / changeme).
  3. Click on Proxy Hosts > Add Proxy Host.

Example: Exposing Jellyfin

  • Domain Names: Type your domain (e.g., jellyfin.myhouse.duckdns.org) and press Enter.
  • Scheme: http
  • Forward Hostname / IP: Type the internal IP of the LocalNode (e.g., 192.168.1.50). Note: Even though NPM is on the same machine, use the actual LAN IP here.
  • Forward Port: 8096 (Jellyfin's internal port).
  • Block Common Exploits: Check this.
  • Websockets Support: Check this (crucial for Jellyfin playback).

Getting the Certificate:

  1. In the same window, click the SSL tab at the top.
  2. Change the dropdown to "Request a new SSL Certificate".
  3. Check "Force SSL".
  4. Enter your email address (Let's Encrypt requires this for expiration warnings).
  5. Agree to the Terms of Service.
  6. Click Save.
Nginx Proxy Manager certificates screen showing SSL options including Let's Encrypt requests.
Nginx Proxy Manager docs screenshot (jc21/nginx-proxy-manager, MIT).

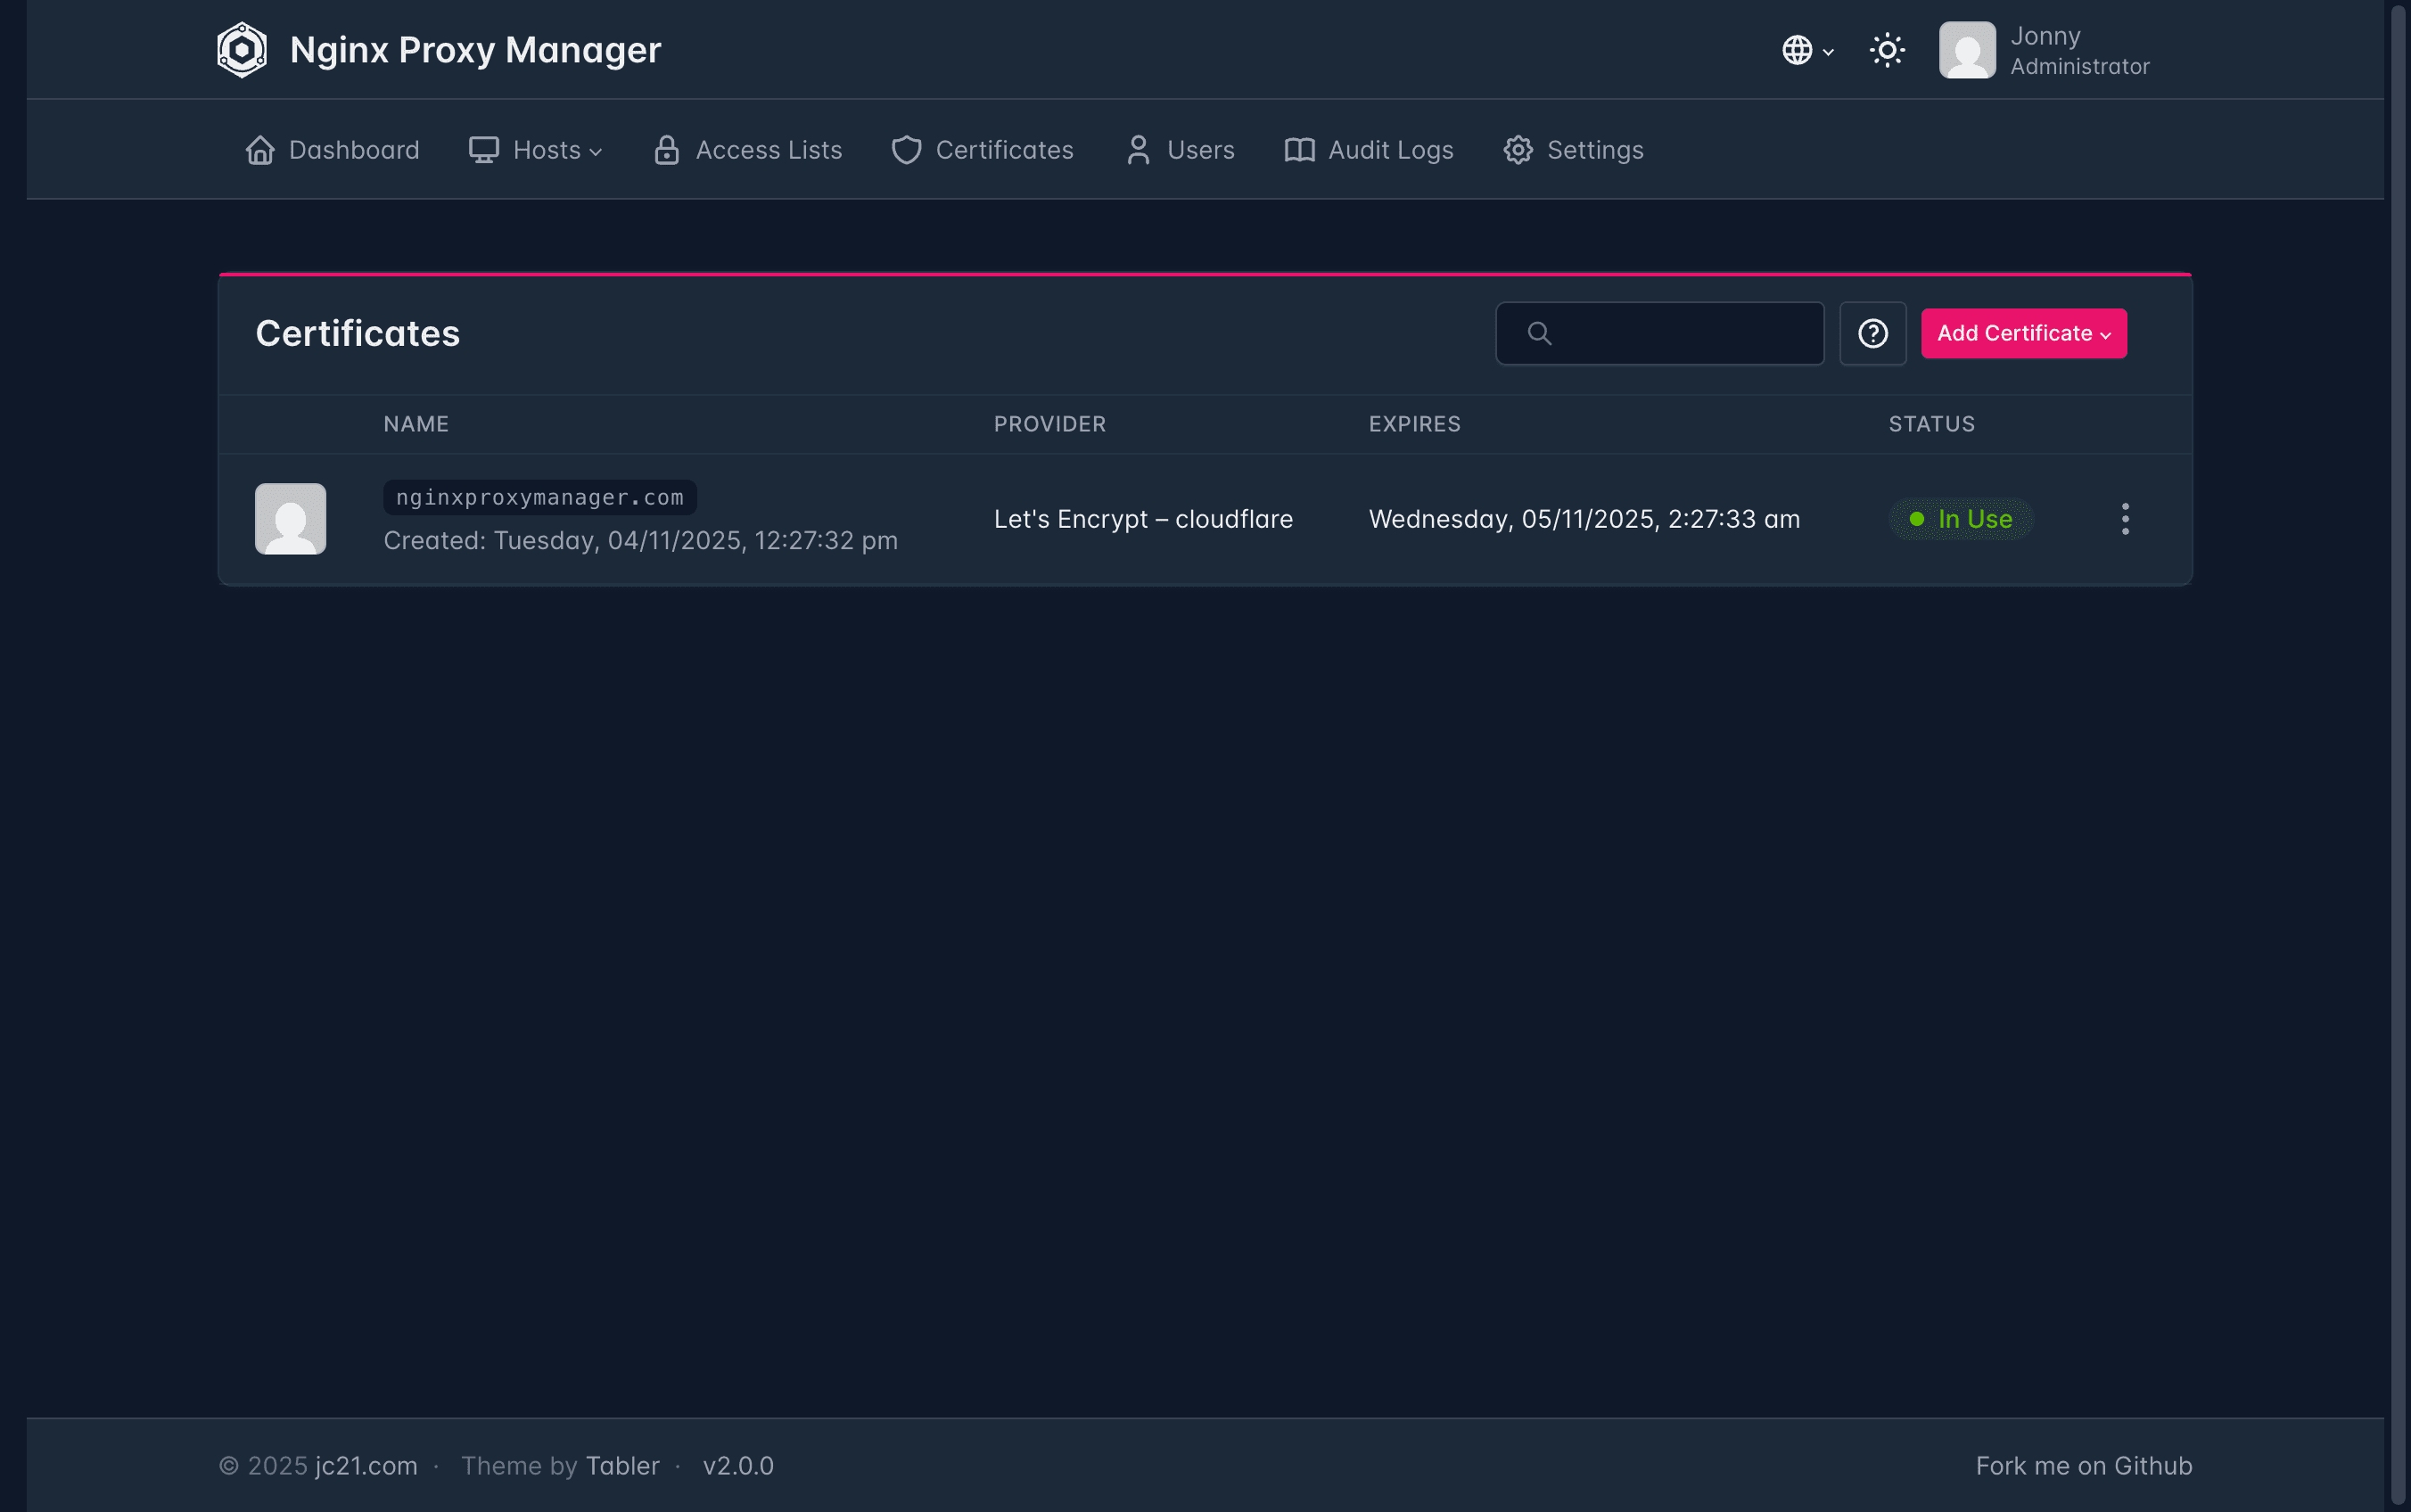
The window will spin for 10-30 seconds. If it saves successfully, the green "Online" badge will appear. You can now go to https://jellyfin.myhouse.duckdns.org from anywhere in the world, and it will load securely with a padlock icon!

💡 Tip: If the SSL generation fails and throws an "Internal Error", 99% of the time it means your Port 80 forward in your router is not working correctly, so Let's Encrypt cannot verify you own the domain.

Next Steps

  • Setting up Dynamic DNS to keep the IP updated

Need help? Email hello@localnode.tech or visit localnode.tech/contact.