LocalNode
How it worksDemoAppsPricingFAQShop now
← All guides
Home/Community/Setting Up Shared Albums in Immich

Setting Up Shared Albums in Immich

Photos
Beginner
5 min read
Published: May 7, 2026

Was this helpful?

Help us improve our community guides.

In this guide

  • Overview
  • Step 1: Creating a shared album
  • Step 2: Inviting users to the album
  • Partner Sharing (Whole Library)
  • Next Steps

Need direct help?

LocalNode Care Plan members get priority remote support.

Email Support →

More in Photos

Backing Up Immich: Protect Your Photo Library

Backing Up Immich: Protect Your Photo Library — Step-by-step guide for your LocalNode.

5 min read

Complete Immich Setup Guide

Complete Immich Setup Guide — Step-by-step guide for your LocalNode.

5 min read

Immich Face Recognition Setup

Immich Face Recognition Setup — Step-by-step guide for your LocalNode.

5 min read
LocalNode

Plug-and-play home server. Your data, your hardware, your rules.

Product

How it worksDemoAppsCommunityPricingFAQ

Support

ContactShipping & ReturnsTrack Order

Legal

Privacy PolicyTerms of ServiceShipping Policy
© 2026 LocalNode. Built for people who value their privacy.Denton, TX · hello@localnode.tech

Immich makes it incredibly easy to share photos with family members who also have accounts on your LocalNode. You can share specific albums (like a vacation) or share your entire library with a spouse.

Overview

By default, all photos backed up to Immich are completely private. Even as the server administrator, you cannot see photos backed up by your spouse's account unless they explicitly share them with you.

Step 1: Creating a shared album

Creating a shared album allows multiple people to add photos to a single collection. This is perfect for trips where everyone took photos on their own phones.

  1. Open the Immich mobile app or web dashboard.
  2. Select the photos you want to share.
  3. Tap the + (Add) icon at the top of the screen.
  4. Select Shared Album.
  5. Give the album a title (e.g., "Hawaii Trip 2026").
  6. Tap Save.
Immich documentation excerpt illustrating partner sharing and album collaboration flows.
Immich documentation asset (immich-app/immich, AGPL-3.0).

Step 2: Inviting users to the album

Now that the album exists, you need to invite people to it.

  1. Open the newly created album.
  2. Tap the Add User icon (a person with a + sign) at the top right.
  3. A list of all users on your LocalNode server will appear.
  4. Tap the names of the family members you want to invite.
  5. Click Add.

When those users open their Immich app, they will see the album under the "Sharing" tab. They can view your photos and tap the "+" button inside the album to upload their own pictures to the collection.

⚠️ Warning: You can only share albums natively with people who have accounts on your LocalNode. If you want to share an album with a friend across the country who does not have an account, you must click the "Share Link" button to generate a public URL. They will be able to view the photos, but not add to them.

Partner Sharing (Whole Library)

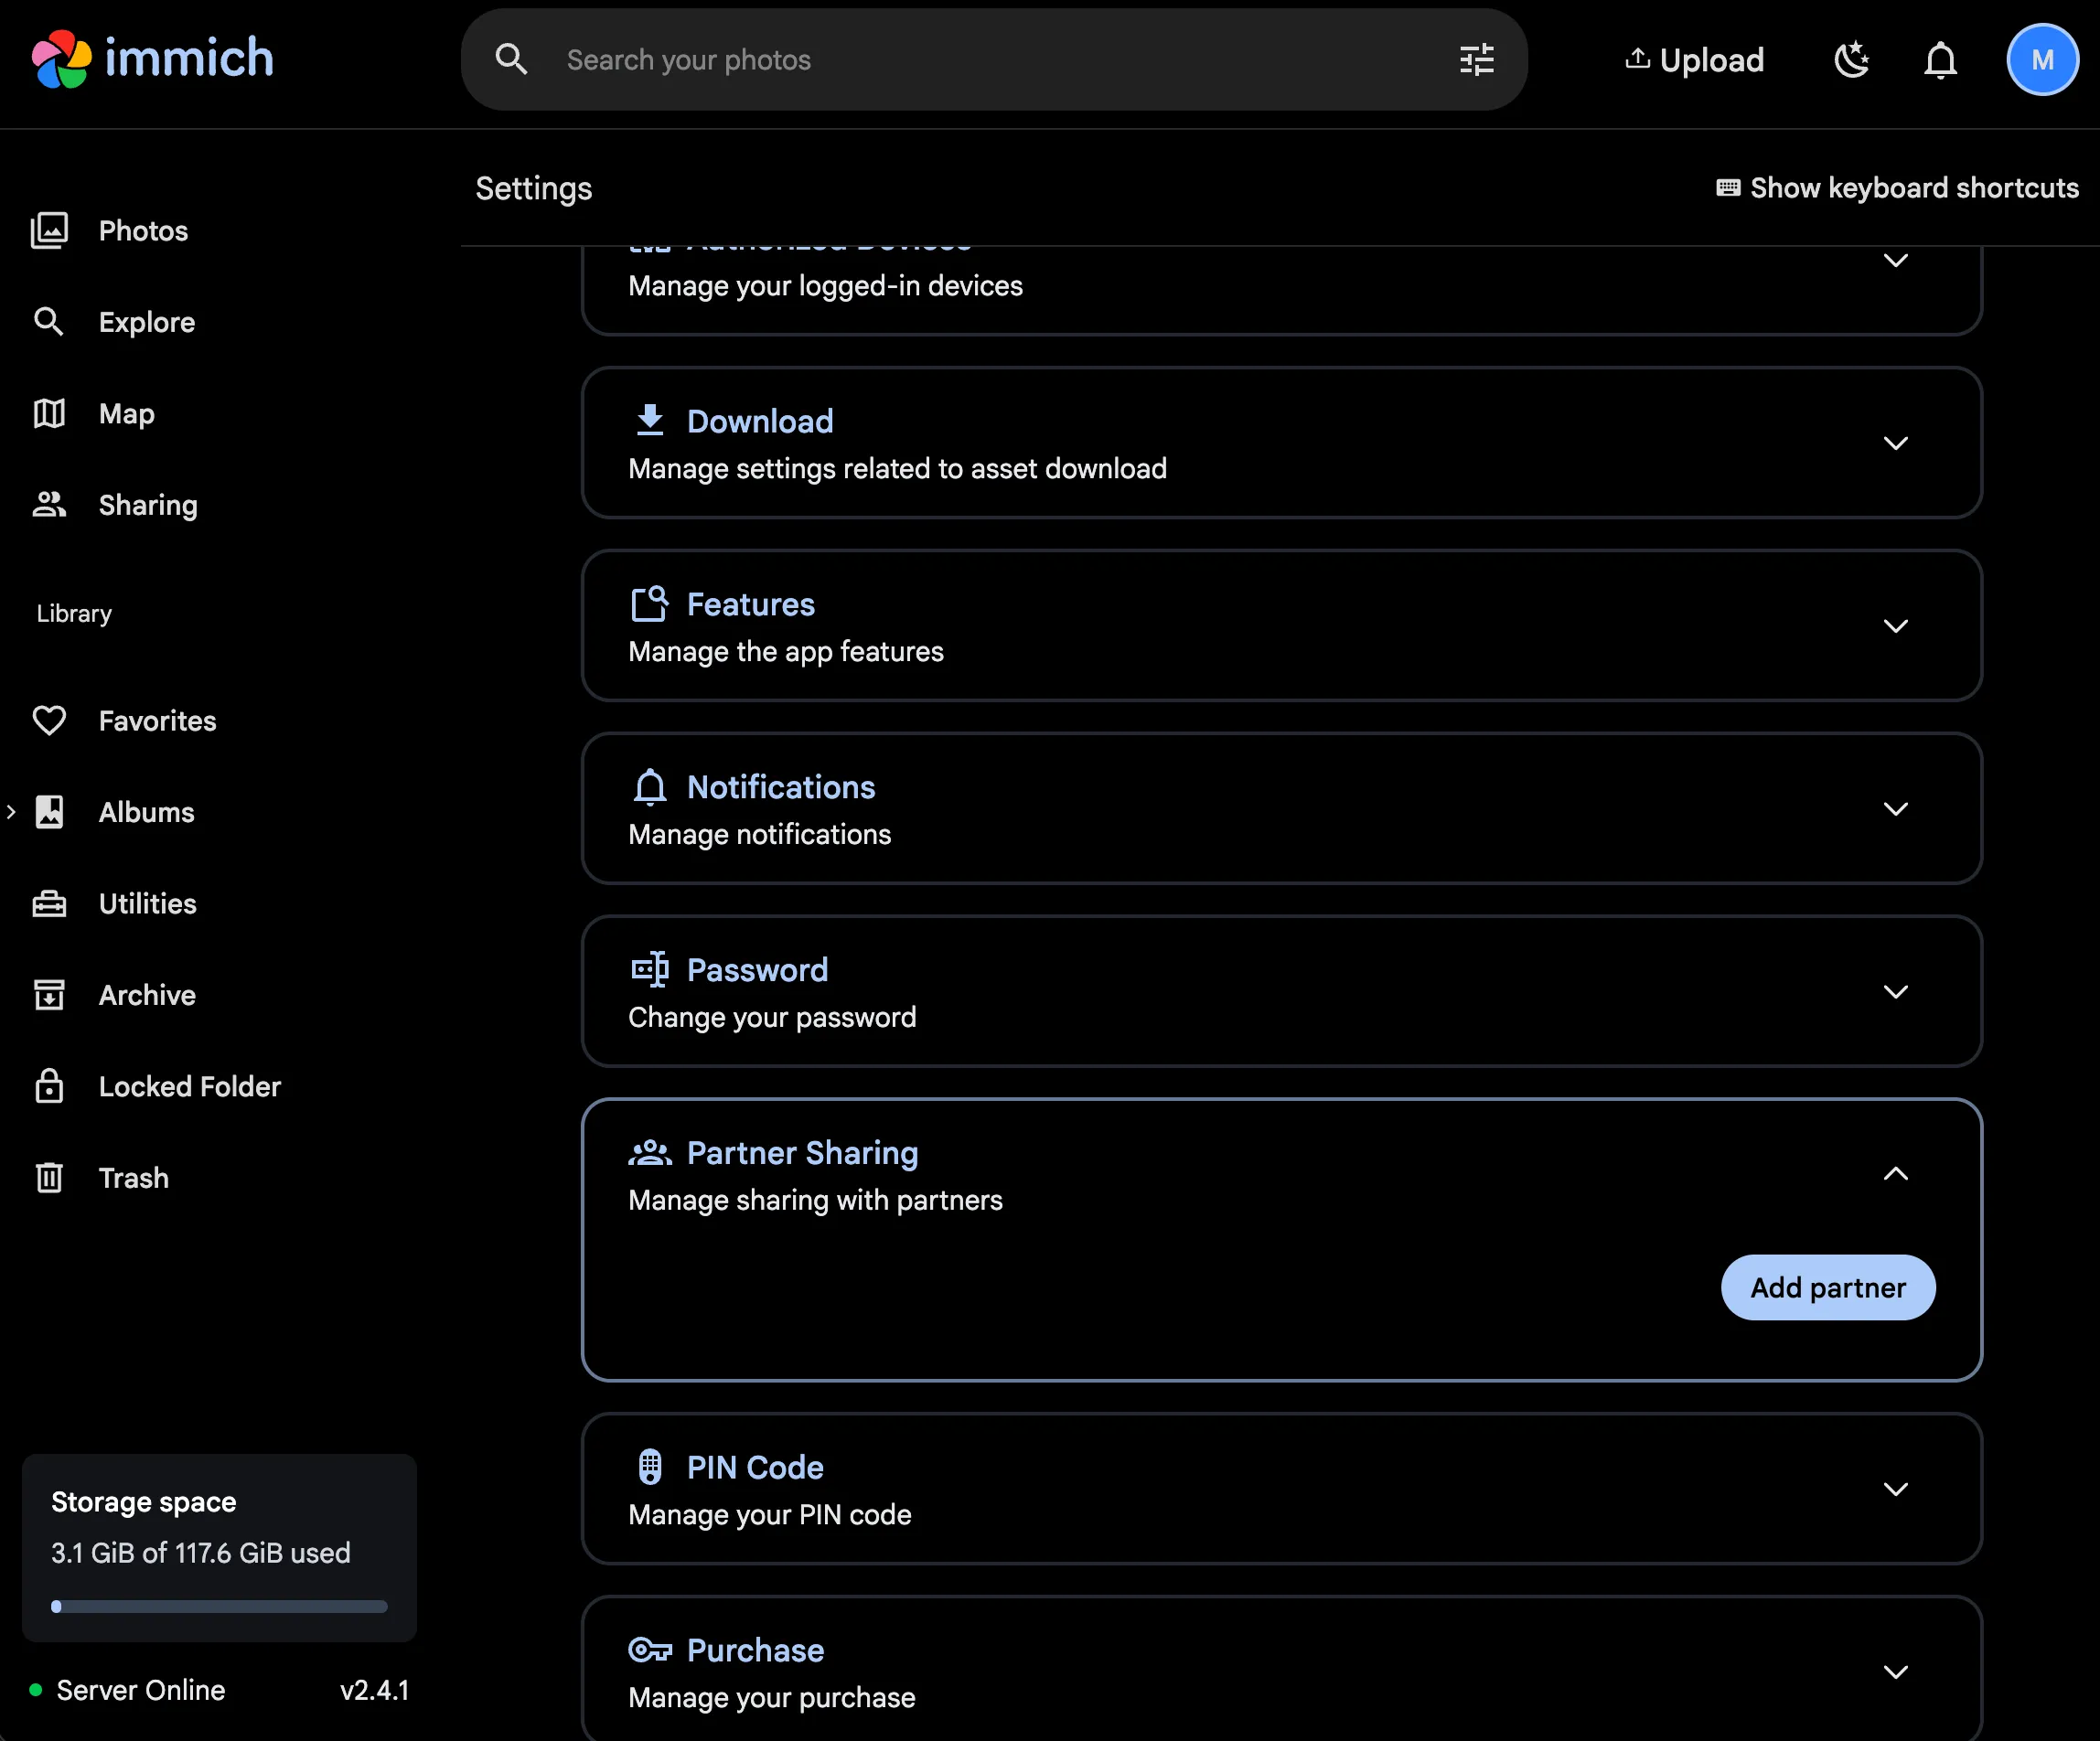
If you and your spouse want a completely unified photo library where you can see all of each other's photos seamlessly, you should use Partner Sharing instead of albums.

  1. Open the Immich app.
  2. Go to Sharing > Partner Sharing.
  3. Tap Add Partner and select your spouse's account.
  4. You will be asked what to share. You can share your entire library, or restrict it so you only share photos where a specific person's face was detected.
  5. Your spouse will receive a notification and must accept the invite.

Once accepted, you will see a new toggle at the top of your main timeline allowing you to view "My Photos", "Partner's Photos", or "Both".

Next Steps

  • Setting up face recognition

Need help? Email hello@localnode.tech or visit localnode.tech/contact.