LocalNode
How it worksDemoAppsPricingFAQShop now
← All guides
Home/Community/Complete Jellyfin Setup Guide for Localnode

Complete Jellyfin Setup Guide for Localnode

Media
Beginner
5 min read
Published: May 7, 2026

Was this helpful?

Help us improve our community guides.

In this guide

  • Overview
  • Prerequisites
  • Initial Setup Wizard
  • Configuration & Libraries
  • Testing Playback
  • Next Steps

Need direct help?

LocalNode Care Plan members get priority remote support.

Email Support →

More in Media

Adding Your Movie and Tv Collection to Jellyfin

Adding Your Movie and Tv Collection to Jellyfin — Step-by-step guide for your LocalNode.

5 min read

Automating Subtitles with Bazarr

Automating Subtitles with Bazarr — Step-by-step guide for your LocalNode.

5 min read

Best Jellyfin Plugins to Install

Best Jellyfin Plugins to Install — Step-by-step guide for your LocalNode.

5 min read
LocalNode

Plug-and-play home server. Your data, your hardware, your rules.

Product

How it worksDemoAppsCommunityPricingFAQ

Support

ContactShipping & ReturnsTrack Order

Legal

Privacy PolicyTerms of ServiceShipping Policy
© 2026 LocalNode. Built for people who value their privacy.Denton, TX · hello@localnode.tech

Jellyfin is the crown jewel of the LocalNode experience. It provides a beautiful, Netflix-style interface for all your downloaded movies, TV shows, and music. This master guide covers everything from the initial wizard to advanced library management.

Overview

Unlike commercial streaming services, Jellyfin is completely free, open-source, and does not track your viewing habits. All your media stays on your LocalNode. Because it is highly customizable, spending a few minutes setting it up properly will result in years of perfect streaming.

Prerequisites

Before you begin, ensure you have:

  • Your LocalNode powered on and connected to your router.
  • A laptop or computer connected to the same Wi-Fi network.
  • A folder of media files (movies/shows) ready to be added, either transferred to the internal drive or on an external USB drive.

Initial Setup Wizard

  1. Open your browser and navigate to http://localnode.local:8096.
  2. You will be greeted by the Jellyfin welcome screen. Select your preferred display language.
  3. Create an Admin Account: Enter a username (e.g., your name) and a strong password. This account will have full control over the server.
  4. Setup Media Libraries: You can skip this step for now by clicking "Next". We will set them up properly in the dashboard later.
  5. Preferred Metadata Language: Choose your country and language so Jellyfin downloads posters and descriptions in the correct language.
  6. Configure Remote Access: Ensure "Allow remote connections to this server" is checked. This is required even for devices on your local Wi-Fi.
  7. Click Finish.

💡 Tip: If you ever forget your admin password, you can reset it via the LocalNode main dashboard settings panel.

Jellyfin server installation wizard screen comparable to creating the first administrator account.
Illustration from archived Jellyfin documentation (GPL-2.0); current Jellyfin UI may differ slightly.

Configuration & Libraries

Now that you are logged in, let's configure your libraries.
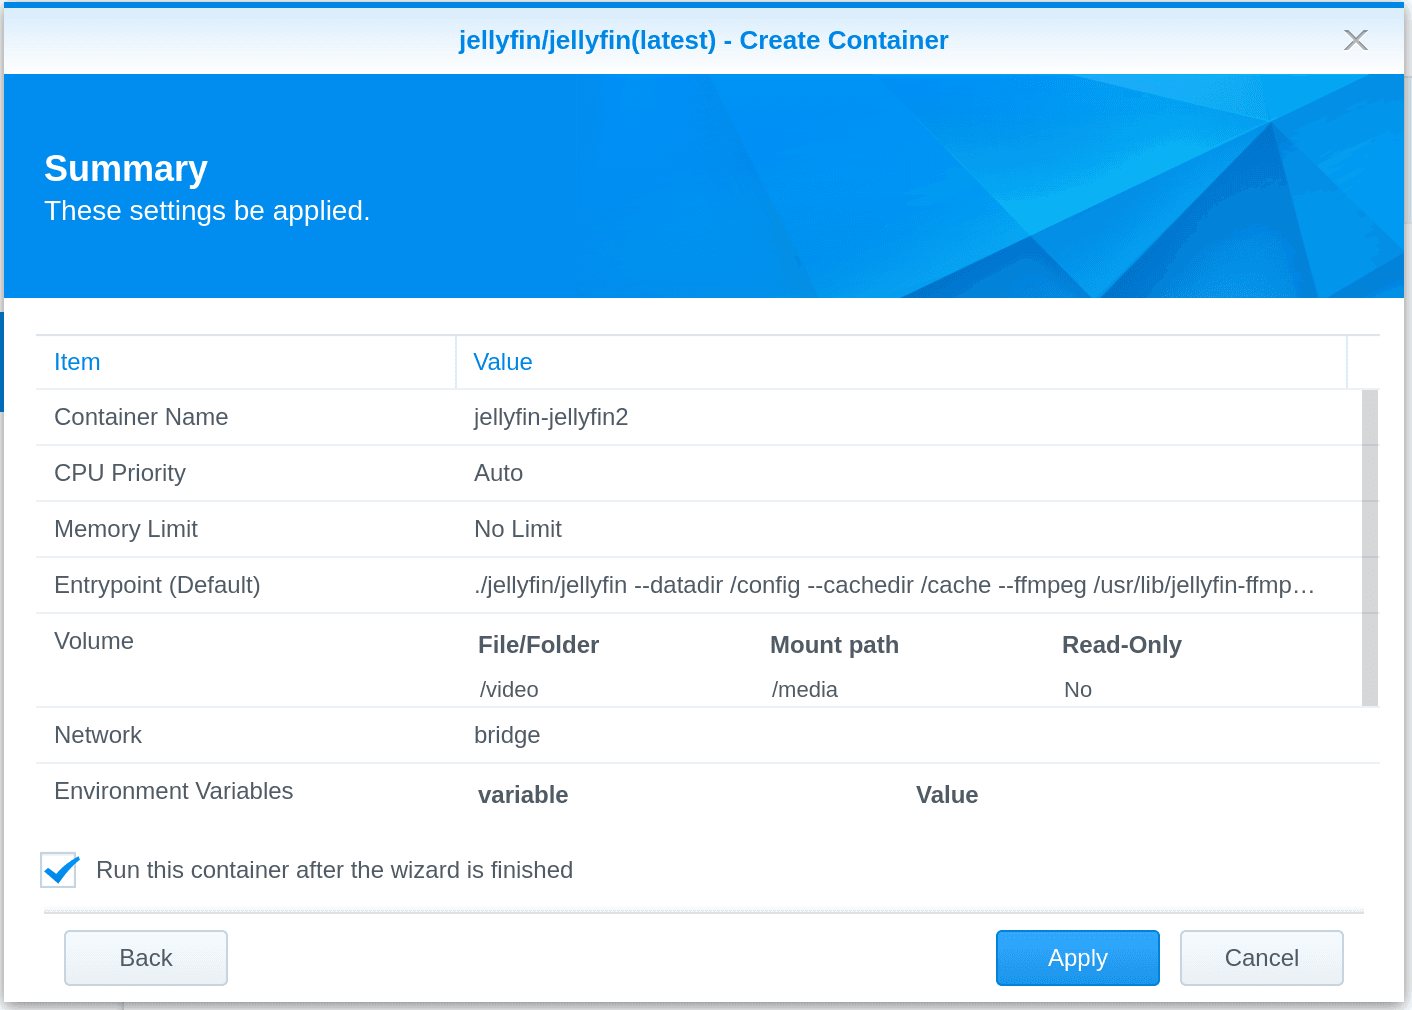
  1. Click the menu icon (three horizontal lines) in the top left and select Dashboard.
  2. Go to Libraries in the left sidebar.
  3. Click Add Media Library.
  4. Select the Content Type (e.g., Movies). This is crucial, as it tells Jellyfin which internet database to use for posters.
  5. Click the + next to Folders and select the folder where your movies are stored (e.g., /media/movies or /mnt/storage/movies).
  6. Under Library Settings, ensure "Download artwork and metadata from the internet" is enabled.
  7. Click OK to save.

Repeat this process for your TV Shows, ensuring you select "Shows" as the Content Type and point it to your TV folder.

💡 Tip: Make sure your files are named cleanly (e.g., Inception (2010).mp4). If files have messy names with lots of tags, Jellyfin may download the wrong movie poster.

Jellyfin dashboard-style layout illustrating populated libraries after metadata scans.
Illustration from archived Jellyfin documentation (GPL-2.0); current Jellyfin UI may differ slightly.

Testing Playback

Wait for the metadata scan to finish (the progress circle at the top of the dashboard). Once complete:

  1. Click the Home button to return to the main interface.
  2. Click on a movie poster. You should see a beautiful backdrop, a synopsis, and a cast list.
  3. Click the Play button. The video should load within a few seconds.
  4. Click the gear icon in the video player to check the quality settings and ensure it is playing at the maximum resolution.

⚠️ Warning: If the video buffers endlessly in the web browser, your browser might not support the video codec (like HEVC/H.265). We highly recommend using the dedicated Jellyfin Media Player app for Windows/Mac instead of Chrome.

Next Steps

  • Installing the Jellyfin app on your TV and phone
  • Optimizing Jellyfin for 4K playback
  • The best plugins to customize your server

Need help? Email hello@localnode.tech or visit localnode.tech/contact.